Assignment 7
3D Printing and assembly
1. Starting with Ideamaker software
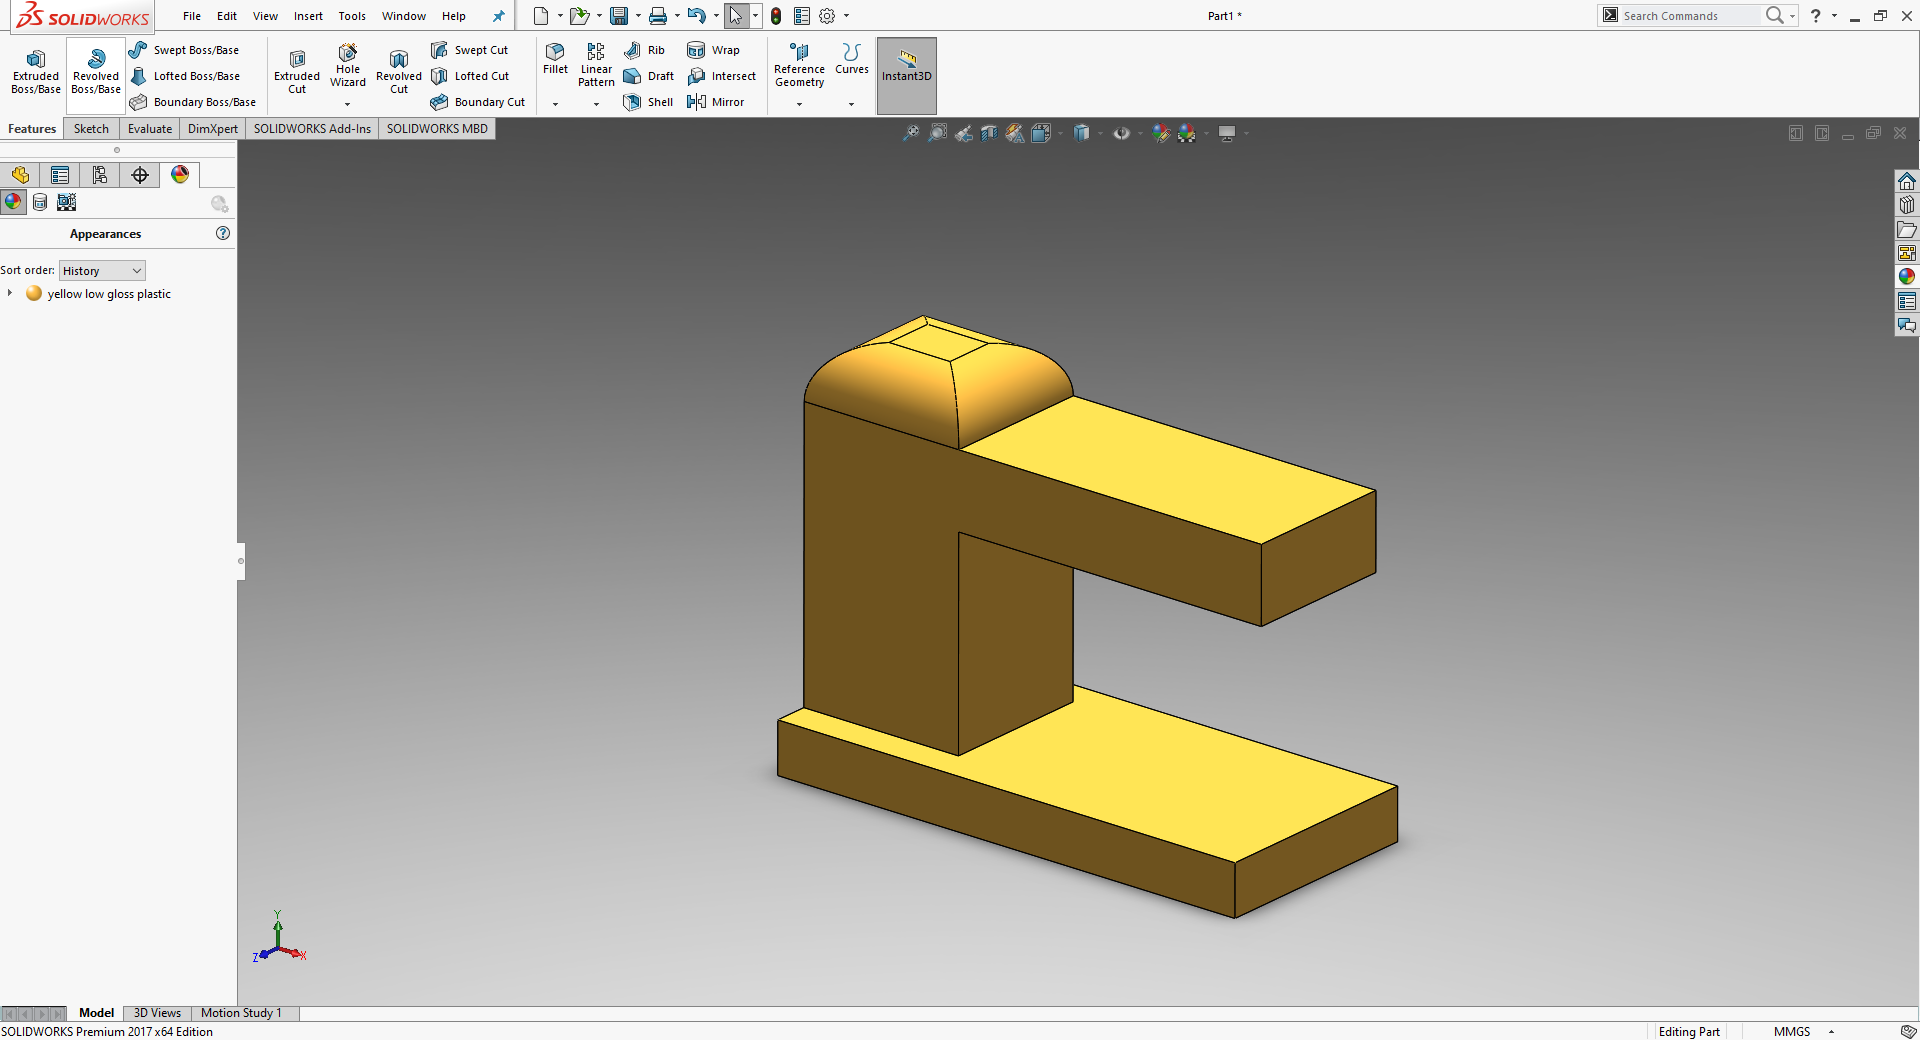
Inputing the model to Ideamaker
A model is created in solidworks and exported as a '.stl' file which is then imported into ideamaker. The user friendly interface can prepare STL, OBJ and 3MF files within 2 clicks, while defined settings provide limitless customization for advanced users. Slicing with ideaMaker is fast, efficient and completely free.
Images of the process
2. Taking it to a printer
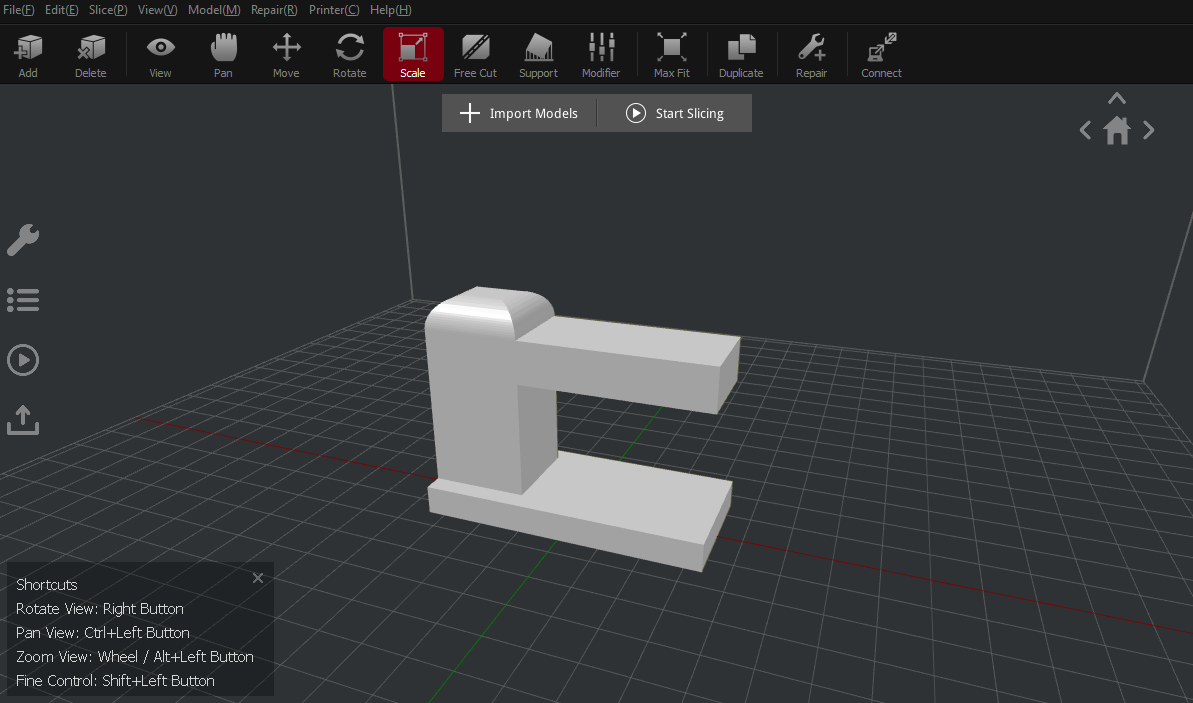
Software to Reality
After importing the model, the object is scaled to the required dimensions and then a slicing template is created by clicking on 'Start Slicing'. The 3D printer model and filament properties are input to the tempplate with various other printing properties such as the speed, wall thickness or number of walls, the type of infill, the infill density and much more. After creating the template it is important to set the nozzle temperature and the bed temperature which are 215 degrees and 60 degrees Celeius respectively.
3. Printing Process
Printing
The printer is turned on and the Sliced file which is a G-Code file is transfered to the printer by a USB. Before printing we need to make sure the filament flows through the nozzle at set temperature. If not, the filament has to be unloaded and the end has to be cut at an angle and re-loaded into the nozzle. Then it is sent to print. The images below show the various stages of the printing.
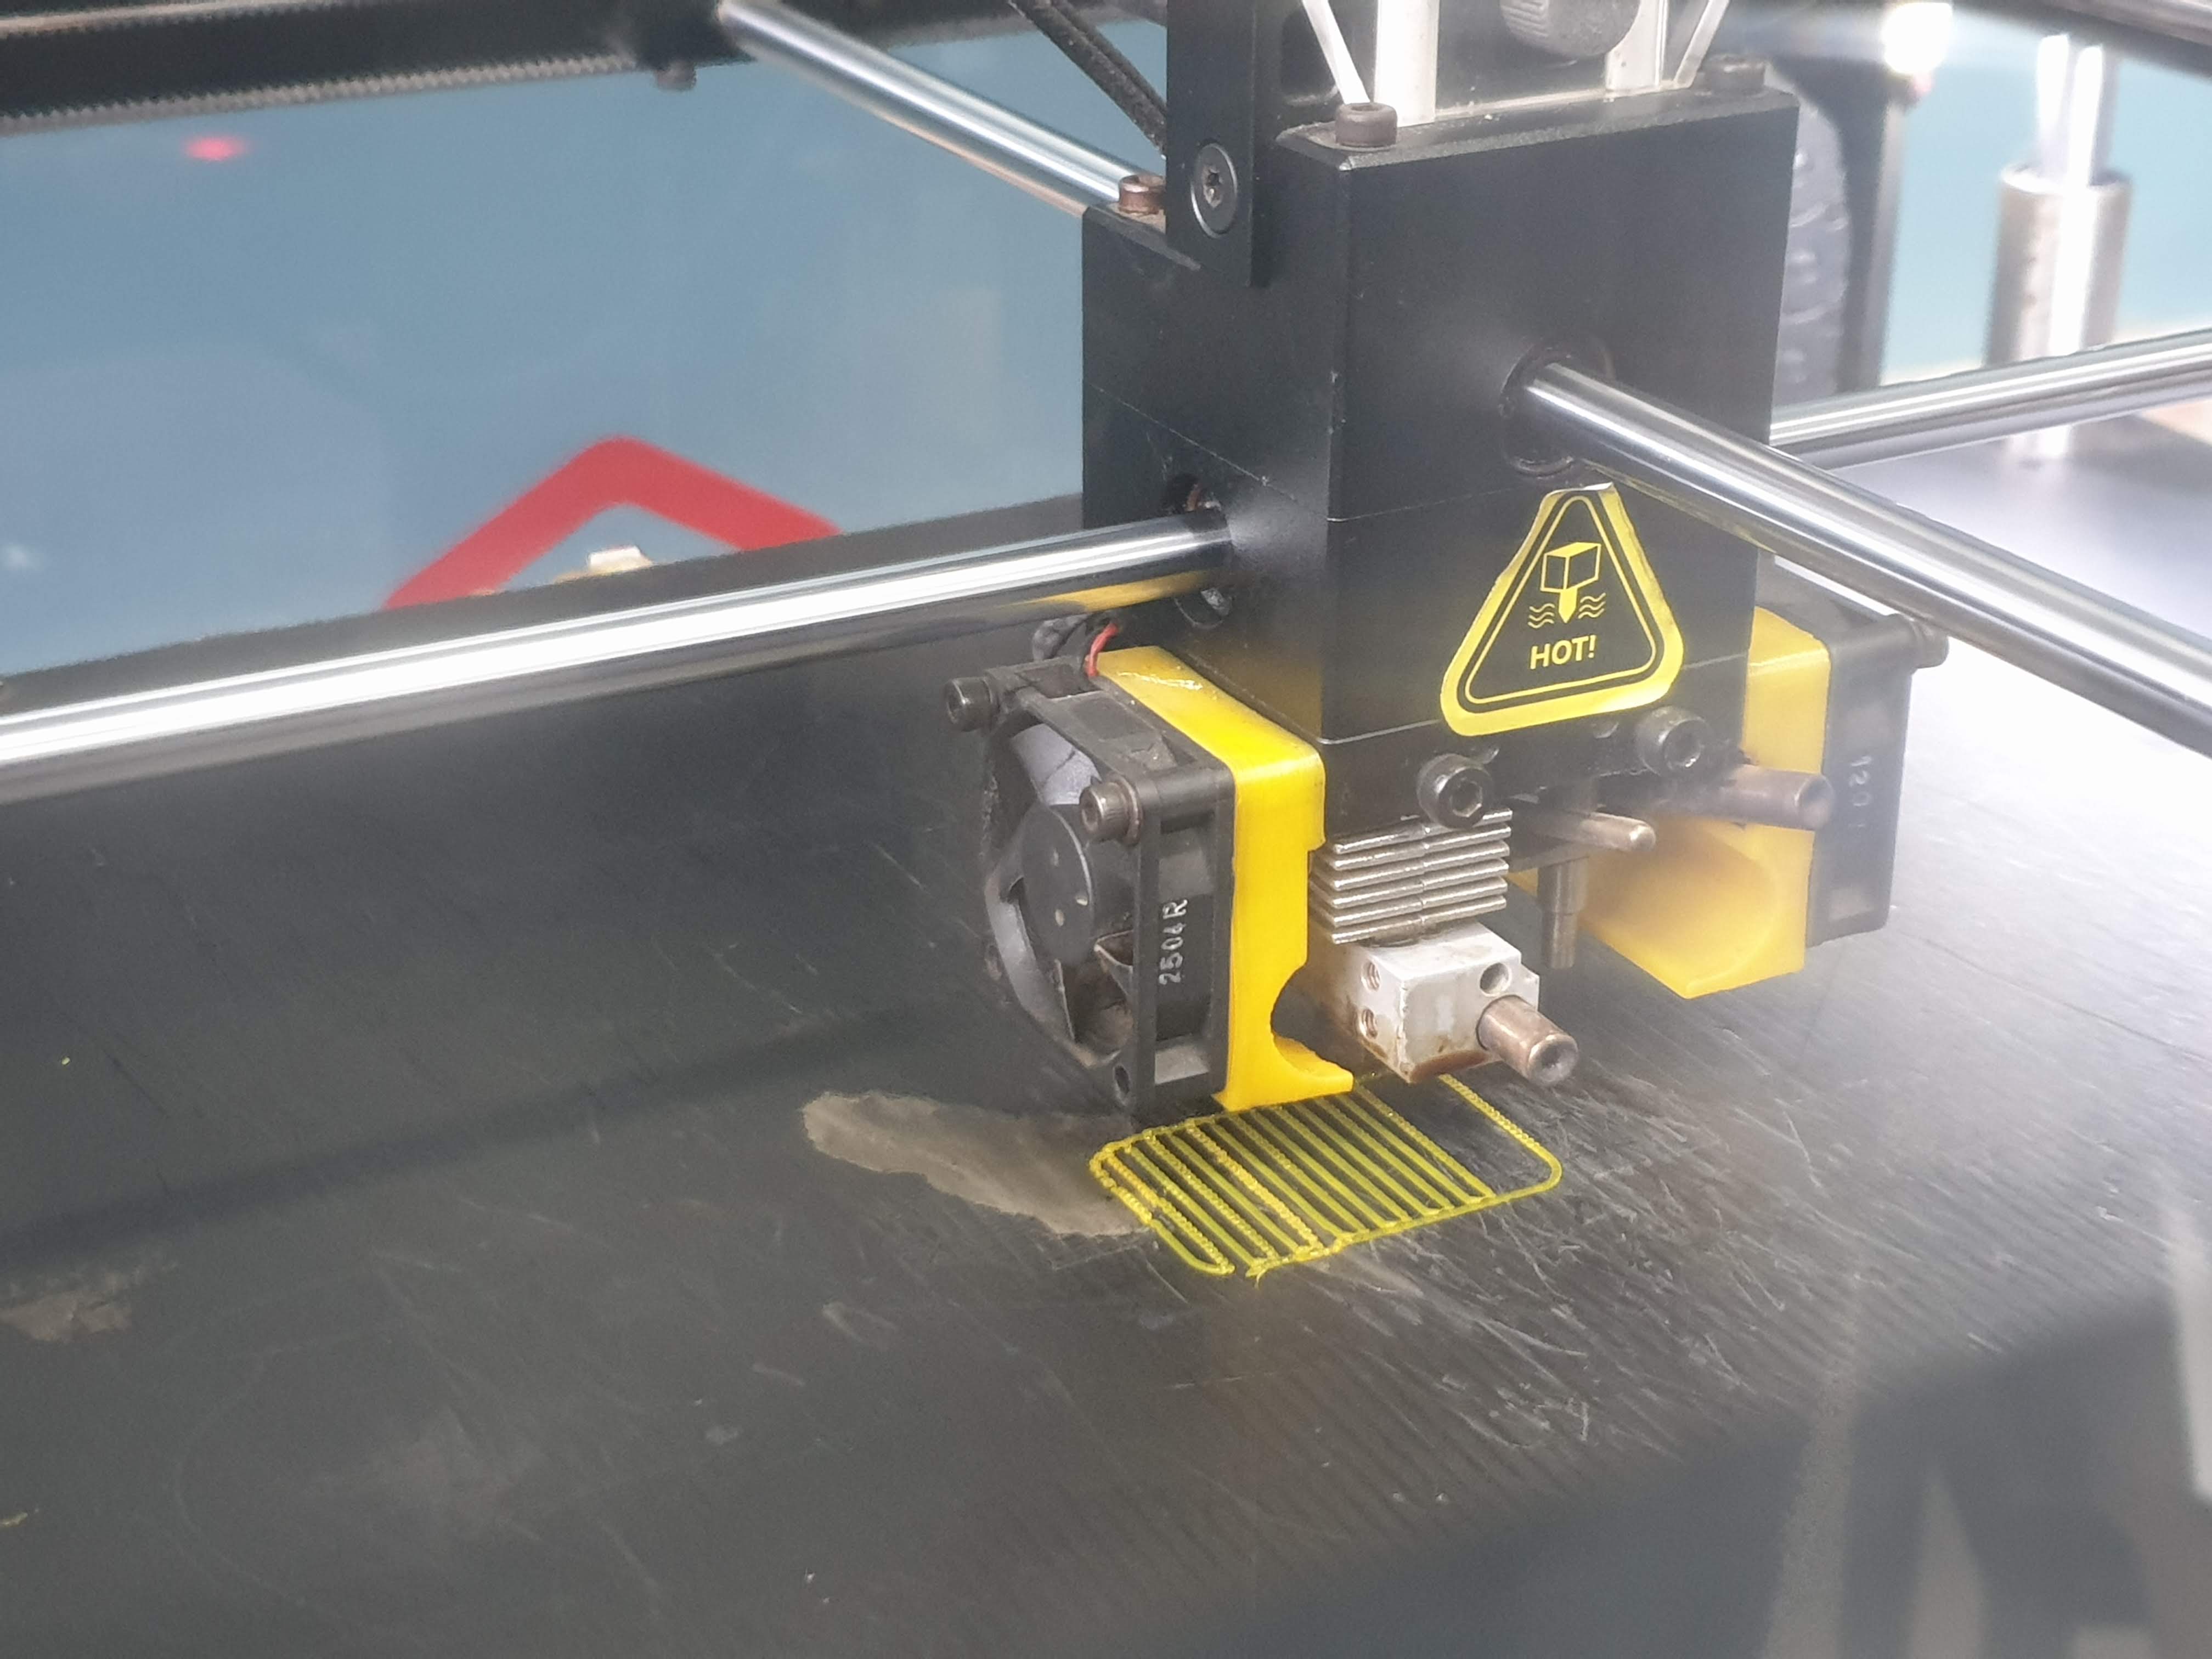
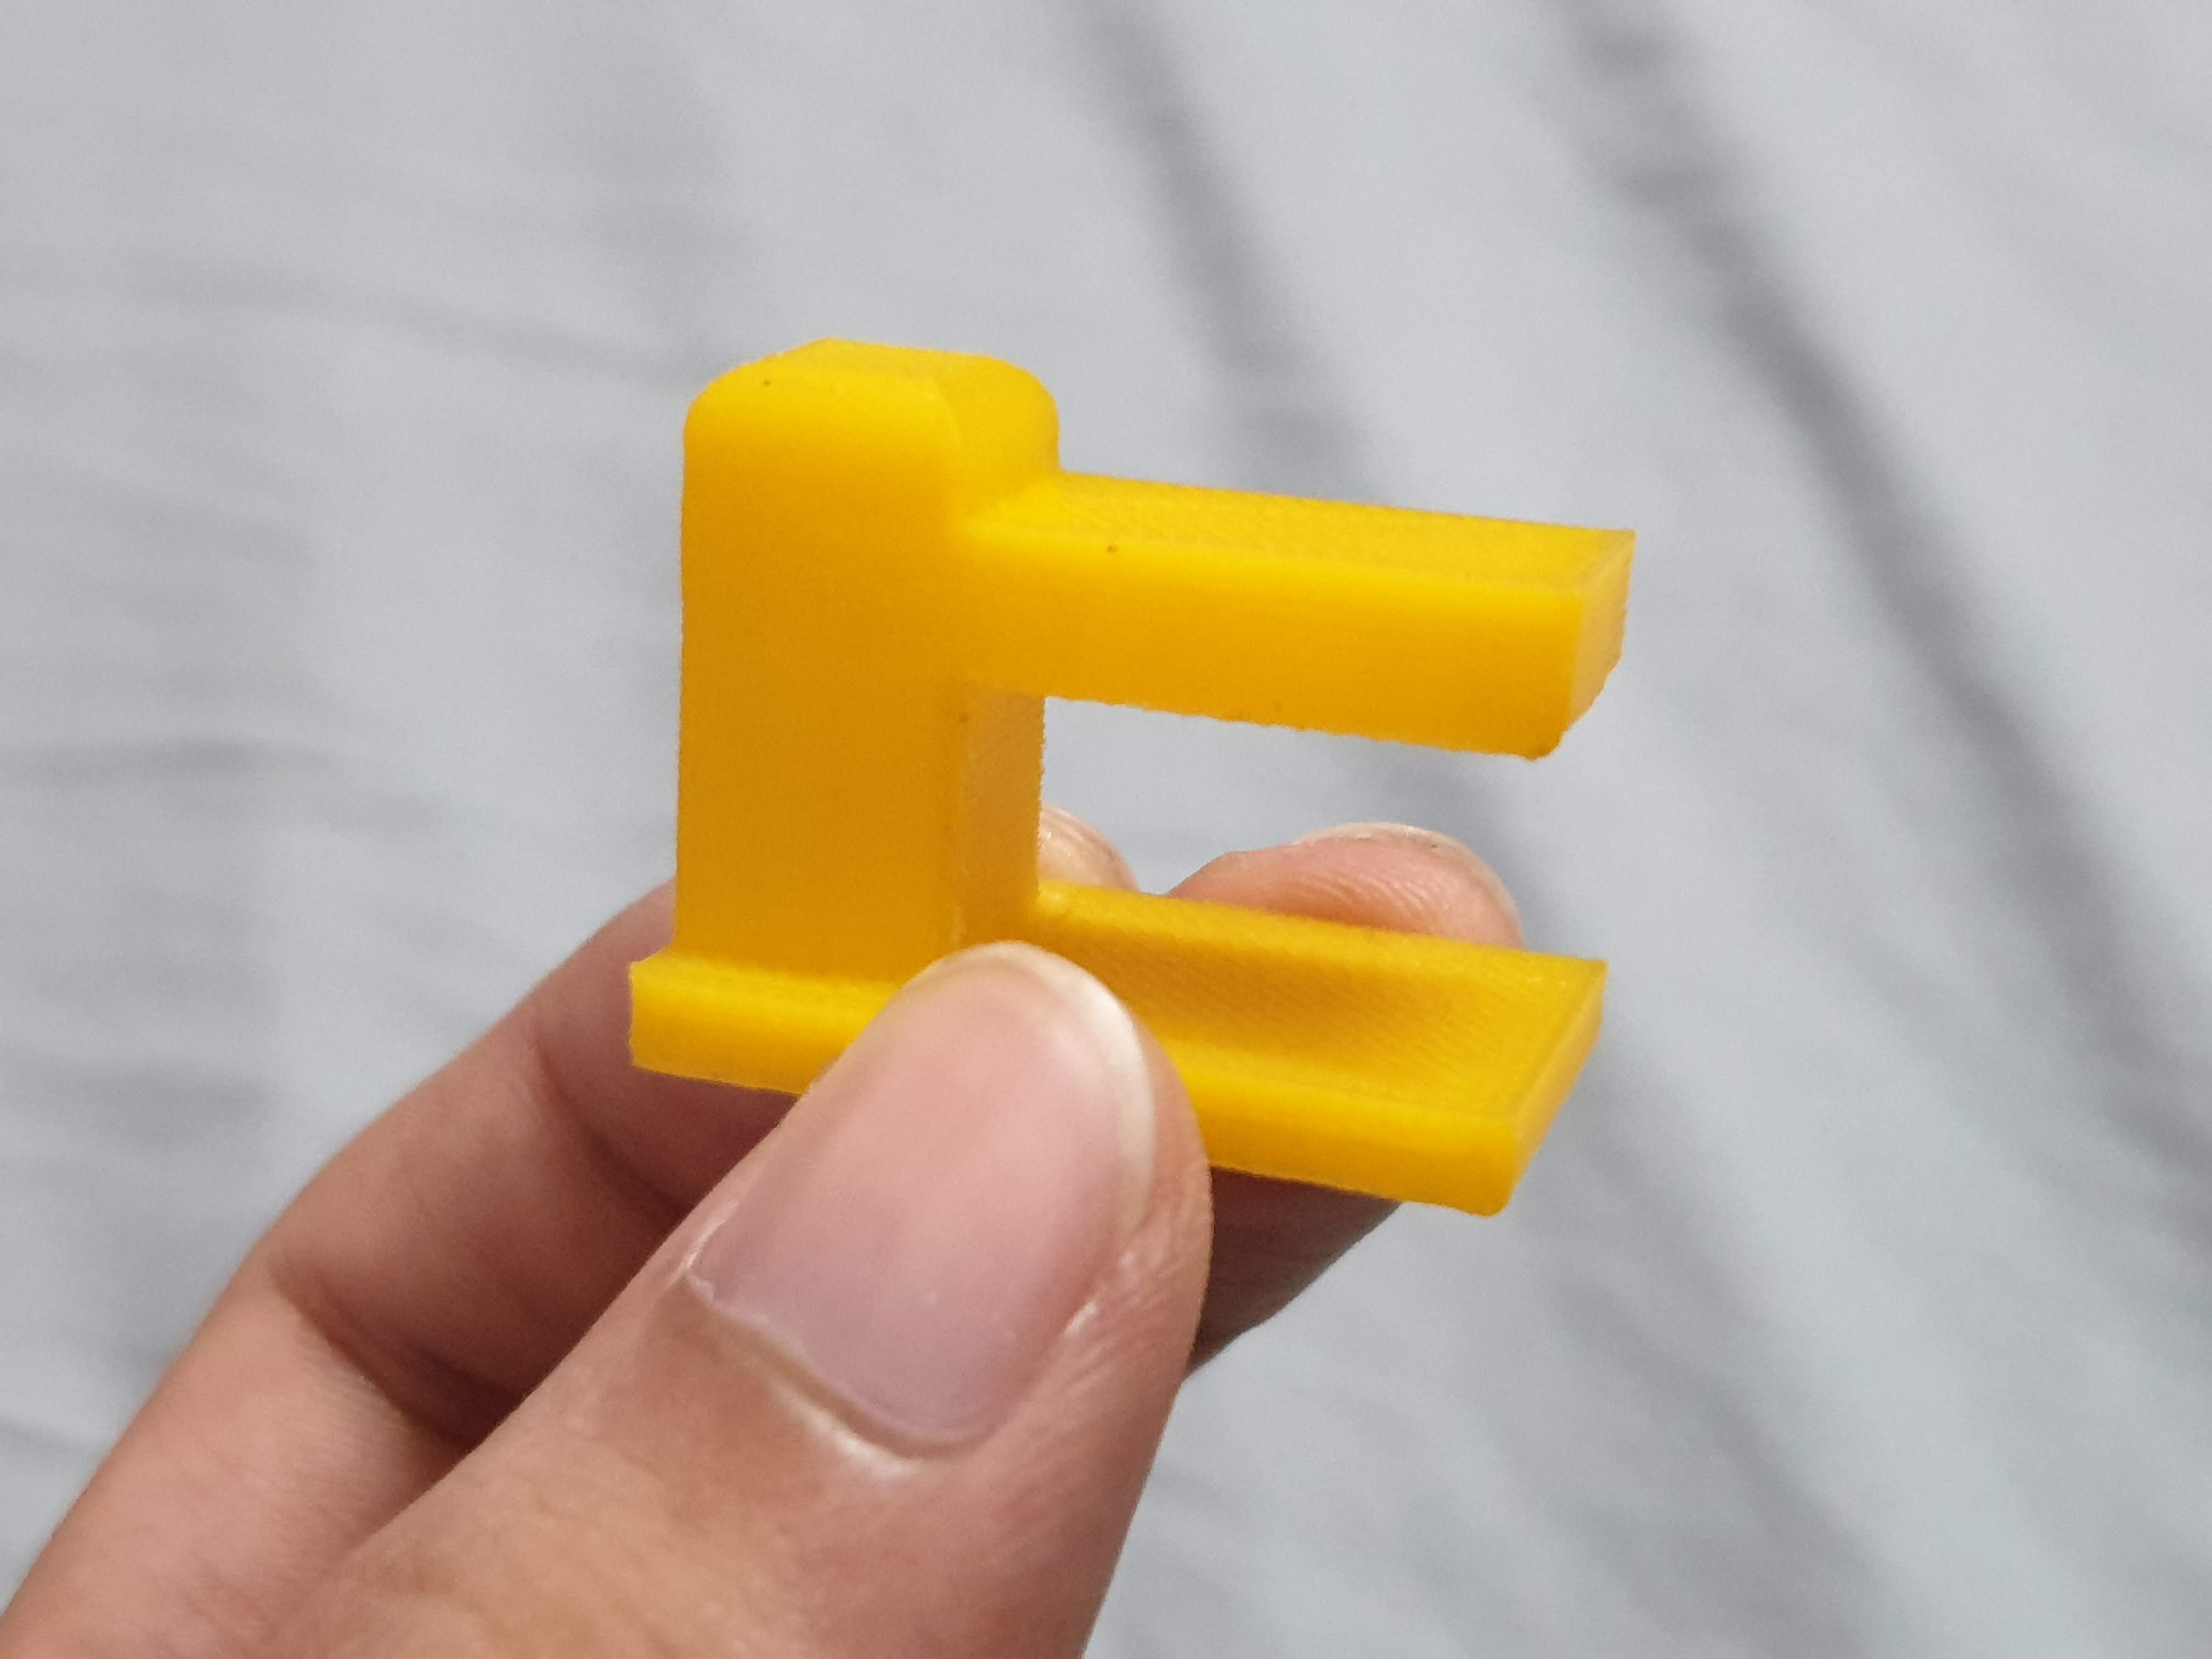
The finished 3D printed model has three components to it. The sacrificial layer which gets rid of any starting glitches while the print starts and it also makes it easy to take off from the bed. And then there are the supports that are given to any part of the model that overhangs past a certain angle.
4. Having Fun with 3D Printing
Experiment time!
Creating Thor's new weapon in a 3D printer-